
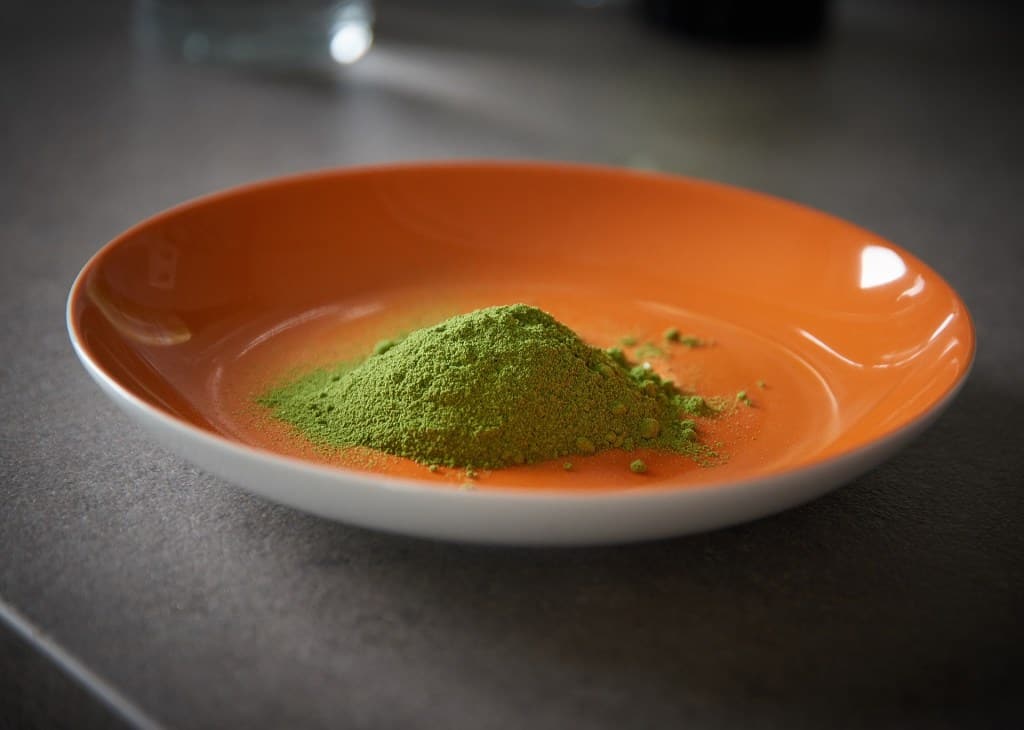
The Seven Step Technique To Make Moringa Powder
If you’ve been growing Moringa trees for the past year, chances are they’ve already shot up taller than you. When you’re surrounded by a lush cascade of leaves, it’s the perfect time to make Moringa powder at home.
This guide will walk you through the whole process — from harvesting and drying to grinding and storing your own nutrient-rich Moringa powder.
Quick Overview: How to Make Moringa Powder
To make Moringa powder, you will need to follow this process:
- Remove the branches and wash them.
- Dry the branches, either by shade-drying them, sun-drying them, oven-drying them, or by using a dehydrator.
- Strip the leaves from the branches and grind them into a powder.
- Sift the powder and store it!
That’s the short answer. Let’s talk about how to do this, though.
Making Moringa Powder is awesome, but if you were looking for just more information on how much Moringa you should take daily, you can check out this article we wrote here:
Step One: Harvesting the Branches
There are two primary methods for harvesting Moringa tree branches.
During the summer growth spurt, we opt for the pre-harvest method. A few days before winter sets in, we harvest the rest of the tree.
Pre-Harvest Method
We use the pre-harvest method for getting a small amount of the Moringa tree, perhaps for Moringa tea or gifting fresh leaves. Note that you need dried Moringa for making Moringa powder.
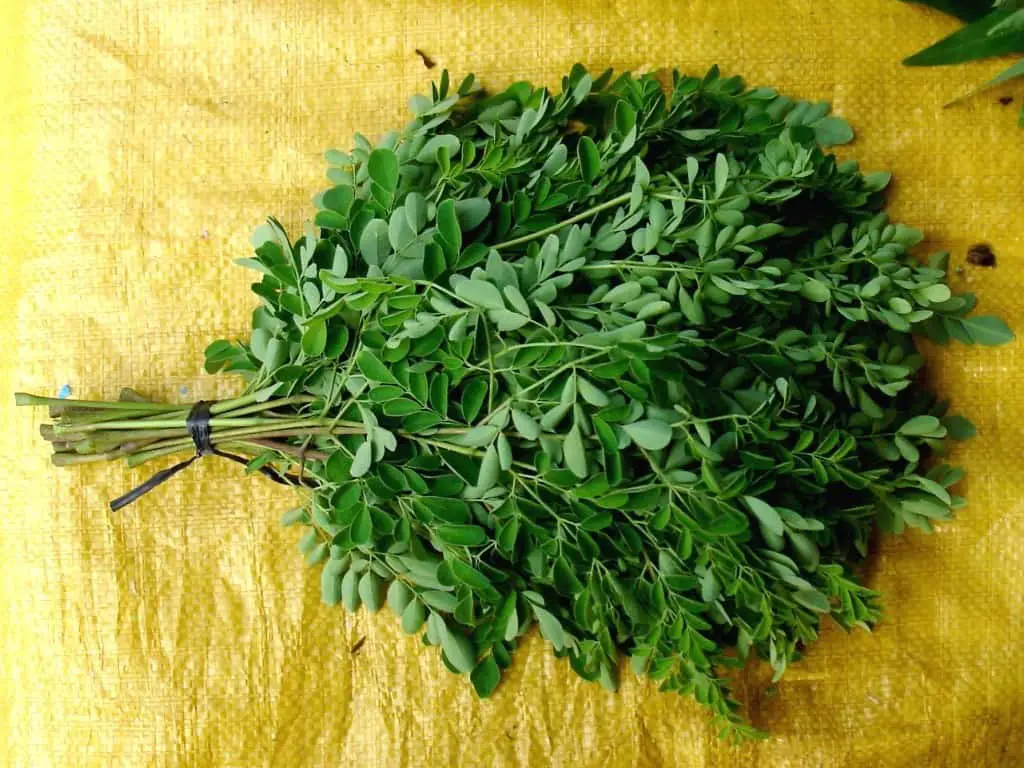
 Simply pick a branch, hold it right at the place where it meets the trunk, and snap it off.
Ready-to-Harvest Method
This is the method we use when we know the frost is about to hit, and/or when we want to harvest all remaining prized Moringa at once.
Grab your gardening shears, an ax, a saw, or any other cutting utensil fit for cutting down the Moringa tree.
Start cutting from about 1 meter or 3 feet high to maintain a bushier tree. If you accidentally cut too much, don’t worry; Moringa is resilient, and it will regrow.
Our best results come from leaving at least a meter of trunk. Wipe off dust or bugs from the leaves with a cloth.
Step Two: Washing the Leaves
Many people skip this step, and even in the most pristine growing conditions will still have some risk of bacterial or pathogenic infection, either from the soil or municipal water from growing the Moringa tree.
Blanching
You’ll need:
- A stove
- A pot of water
- A bowl of ice water
- A strainer/sieve
A lot of people avoid blanching because they’re worried that it’ll dramatically reduce the number of nutrients, antioxidants present, or essential amino acids in their fruits and veggies. Blanching is not going to destroy the nutrient profile or cause much nutrient breakdown, even of water-soluble nutrients. Blanching will not sacrifice health benefits.
Here’s the process for blanching:
- Boil water in a pot.
- Prepare a bowl of ice water.
- Immerse branches in boiling water for about 1 minute.
- Using a strainer, transfer leaves to ice water.
- Once cool, pat the leaves dry.
Step Three: Drying the Leaves
Several methods exists for drying Moringa leaves, each with its pros and cons.
Shade-Drying the Leaves
You will need:
- Twine, yarn, or some other type of sturdy string
- A dark, cool spot
- Somewhere to hang the branches, like a crossbeam
- Mosquito netting (optional)
Take 3-5 branches, and tie them together by the stems.
Make sure that the branches are fully secured; you’ll be hanging the bundles upside down, be careful with the small sticks, if they fall, you’ll need to repeat the washing process.
One at a time, tie each bundle to a horizontal beam.
I typically knot a foot-long piece of jute twine around the stem several times, wrap the other end of the jute around a crossbeam, and then tie it again two or three times for good measure.
If you are unable to individually tie several bundles up to dry upside down, you can also hang up a few yards of mosquito netting and lay the branches out in a single layer.
Your Moringa leaves will take about 3-4 days to shade dry.
Dry leaves will be brittle and papery to the touch.
Shade drying will minimize nutrient breakdown by sun-drying.
How To Sun-Dry Moringa Leaves
You will need:
- Twine, yarn, or some other type of sturdy string
- A place to hang the leaves, such as a rail or a laundry line
Take 3-5 branches (3 if the branches are very dense with leaves, 5 if they aren’t), and tie them together by the stems. Again, make sure that each branch bundle is secured together, and that none will slip off if hung upside down.

One at a time, tie each bundle to a laundry line, or wherever else you’ve decided to hang the leaves. Make sure that each bundle is entirely secured.
In warm, dry weather, it typically takes about 2 days to sun-dry leaves. Once they’re brittle and delicate to the touch, you can then remove them.
Sun-drying typically results in the highest loss of nutrients due to direct sunlight, and you will only get good results if you sun-dry during periods of warm/hot and dry weather.
How To Dry Moringa Leaves In The Oven
You will need:
- An oven capable of maintaining a temperature below 200° F
- A drying tray
Preheat the oven to 150° F.
Carefully place the trays inside the oven. Do not close the oven door; keep it propped open at least 3-5 inches.
Moringa leaves typically take between 3-4 hours to dry in an oven.
Lower the temperature 10 degrees every hour, and keep lowering it until you reach a temperature of 120°. Once the leaves are brittle and crumble easily, they can be removed.
Dehydrating the Moringa Leaves with a Dehydrator
You will need:
- A dehydrator
- That’s about it
Make sure to layer your leaves in a single layer, and make sure there’s enough space above the tray for air to circulate.
The length of time to dehydrate will vary depending on your specific dehydrator, but you’ll probably find it pretty similar to the amount of time an oven would take. I normally find 3-4 hours to be the average.
Step Four: Stripping the Leaves
You will need:
- A large bowl or bag in which to place your Moringa leaves
Once dry, stripping leaves is easy. Pinch one end of the branch between two fingers and squeeze down. Most leaves should easily fall off.
Place leaves in a bowl or bag.
We’re nearing the final steps in our guide to making Moringa powder!
Step Five: Grinding the leaves into Powder
You will need:
I personally have the Ninja blender and use that to blend my Moringa leaves, and it works perfectly!

Take your container of dried leaves and pour a few cupfuls into your blender. You’ll still get the best results if you don’t fill the blender past the halfway mark.
Turn your blender on, making sure to use a high setting. Blend the leaves for about 10-20 seconds.
You can also use a mortar & pestle.
Grind the Moringa powder as much as you can, and repeat as necessary.
Step Six: Strain the Moringa Powder
You will need:
- A strainer/sieve
- A large bowl
Straining enhances taste. Pour powder through the strainer into the bowl. Shake the sieve to dislodge anything stuck.
This step ensures smoother powder and removes accidental twigs.
That’s it. The last step is just to store it.
Step Seven: Storing The Moringa Powder
Unless you’ve only made enough Moringa powder to last you a day or two, you’ll probably want to store the rest of the Moringa leaf powder for future use.
Good news: as long as you store Moringa powder in a cool, dry area, the powder will keep for up to a year, without losing any health benefits.
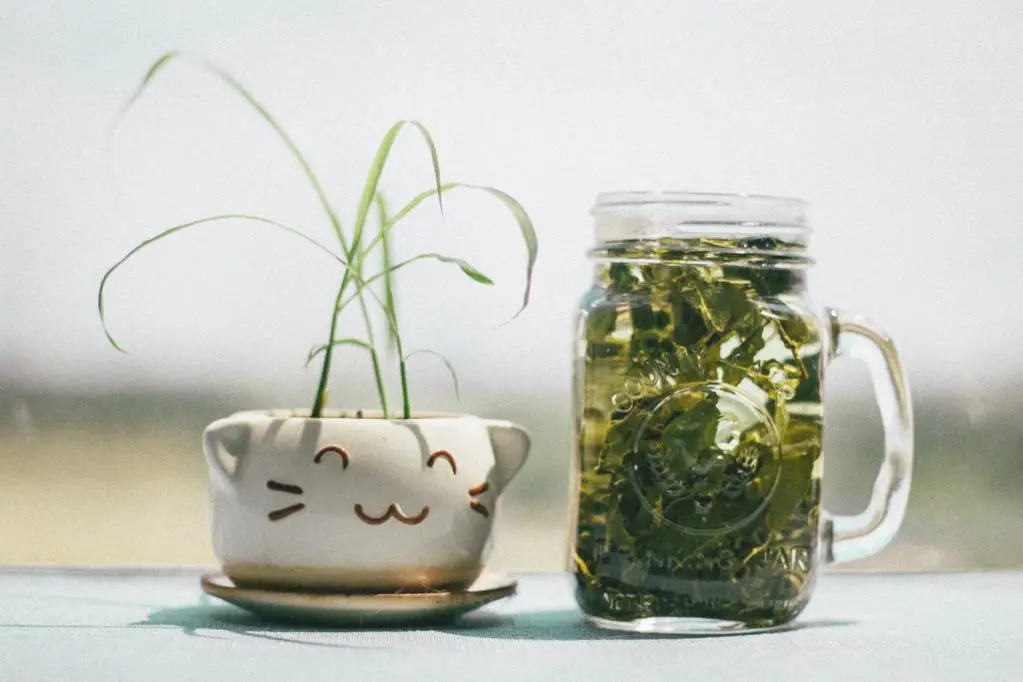
The emphasis here is on the “cool, dry area.” Store your Moringa in airtight containers, or a vacuum sealer.
Mason jars work perfectly, but remember that not every Mason jar is made equal. These are my favorites, but feel free to do your research!
Seal in those health benefits from your Moringa Oleifera (Miracle Tree or Drumstick Tree)!
If you’re not making your own, see my list of the Best Moringa Powders You Can Buy.
Conclusion

For years now, Moringa has been a daily consumption in my life, incorporated in various forms such as capsules, food recipes, and soothing teas. Initially, my daughter and I embarked on this journey as an experiment, but as time went on, I delved deeper into its remarkable potential and unearthed the unlimited benefits it offers for our well-being and health. I got motivated by how much it positively impacted me and decided to share my insights about Moringa’s profound impact on health and overall living through my blog posts.