Moringa oil is quite affordable to purchase, and numerous reliable sources offer it. However, there’s undeniably a unique satisfaction in making your own oil.
If you’re someone who enjoys do-it-yourself (DIY) projects, it’s time to gear up and get ready because we’re about to embark on making Moringa oil!
How to Make Moringa Oil
To make Moringa oil, start by de-shelling the seeds and quickly extract the seed oil using an oil press. Allow the oil to rest for a few days, then carefully decant it into a bottle.
Learning how to produce Moringa oil and actually doing it is an enjoyable activity. To this day, it remains one of my favorite activities.
For more details on crafting your own oil and a comprehensive breakdown of each step, continue reading below!
Our complete one-stop-shop guide, Moringa 101 can be found in the article below:

How To Make Moringa Oil Cold-Pressed (DIY)
Utilizing an oil press significantly simplifies the process of making any type of oil. However, it’s important to acknowledge the drawbacks of these presses.
Firstly, they come with a considerable price tag; many models range from $200 to $500. If you’re interested in producing both Moringa oil and milk, investing in one is highly recommended. My personal favorite, Happybuy’s Stainless Extractor, offers versatility, allowing extraction from nuts, seeds, coconuts, and beans.
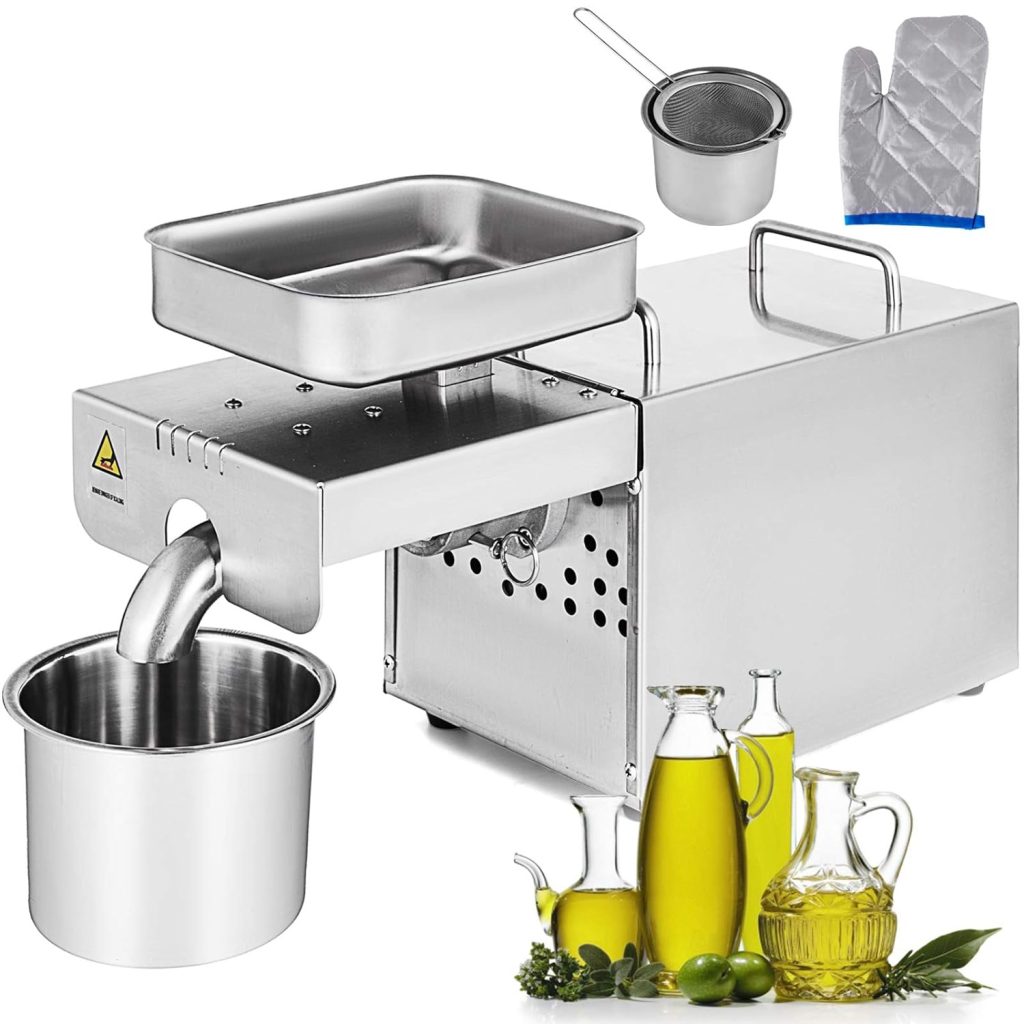
Yet, if your sole focus is Moringa oil, a $200+ machine might exceed your budget.
Moreover, while oil presses streamline extraction, they tend to yield less oil compared to manual methods. Most cold presses extract around 70% of the oil from seeds, which is commendable but falls short of the nearly 100% achievable through manual techniques.
Each approach has its merits and drawbacks to consider.
How To Make Malunggay Oil (Moringa Oil)
These instructions cover both methods for making Moringa oil: with and without an oil press. However, each method starts with the same initial step which is listed below.
Occasionally, Moringa is referred to as Malunggay. There’s no distinction between the two; Malunggay is simply the term used for Moringa in the Philippines. Consider this a heads-up in case you encounter this alternate name online!
Step 1: De-Shell the Seeds
This step assumes you’ve already extracted the seeds from the Moringa drumsticks. If not, simply halve the drumstick with a knife and carefully remove the seeds.
De-shelling the seeds is crucial in learning how to make Moringa oil.
There are various methods for de-shelling, but the easiest is by hand. Pinch the Moringa seed between two fingers and use a fingernail on your other hand to pry off the shell. It may take a few attempts, but Moringa shells typically come off easily.
While manual de-shelling is straightforward, it can strain the wrists after a while, so I wouldn’t recommend it. Instead, consider using a nutcracker. I personally use a Bradshaw nutcracker, which cost me less than $3. Simply pinch the seed between the nutcracker to crack it lightly, then remove the shell. It’s a ten-second process.
Keep in mind, the longer you leave the seeds without shells, the darker your Moringa seed oil will be.
Once cracked, use the seeds promptly.
How to Extract Oil from Moringa Seeds
Step 2: Extracting the Oil
If you have an oil press, extracting oil becomes a straightforward process.
Begin by turning on the machine. Even most cold press extractors require minimal heat to fully extract all of the Moringa seed oil, so allow the oil extractor to warm up for 5-10 minutes.
Once warmed up, you can initiate the extraction process. Your oil extractor will have a funnel where the Moringa seeds are placed. Slowly pour the seeds into the funnel, using your fingertip to guide them if necessary. Within a minute or two, the Moringa oil will start dripping out of the extractor into a container.
As the oil is extracted, the seed cake (what remains of the seeds) will also emerge from the extractor.
I typically collect the seed cake to use as fertilizer, but it can also be utilized for water purification. Stay tuned for an upcoming article on using Moringa as a water purifying agent!

Depending on the size of your machine and the quantity of Moringa seeds used, the duration of the process can vary significantly, ranging from five minutes to over an hour. However, the most challenging aspect of this step is the waiting period; the oil extractor will handle all the work for you.
It’s important to note that the oil-to-seed ratio is not a perfect 1:1. Moringa oil accounts for approximately 37% of the seeds, and the cold press will only extract about 70% of that. This translates to a little over one-fourth of the total volume. In simpler terms, if you process 1 pound of Moringa seeds, you’ll end up with about a quarter pound of oil.
Manual Moringa Oil Extraction
If you don’t have an oil extractor, the process will take a bit longer, but it’s still surprisingly simple.
Begin by pouring your Moringa seeds into a skillet or frying pan. If you have a large quantity of seeds, pour enough to form a single layer.
Turn your stove to medium heat and roast the Moringa seeds until their insides begin to brown. It’s important to note that the outer shells of the seeds will remain white. On my stove, this typically takes around 15 minutes, but I recommend periodically cutting open a seed to check for doneness.
While the seeds are roasting, fill a pot with water and place it on another burner. Keep the heat on low-medium while waiting for the seeds to finish roasting. Once done, transfer the seeds to the pot.
Turn the heat up to medium or medium-high until the water starts to boil. Within a few minutes of boiling, you’ll notice Moringa oil starting to seep out of the seeds and rise to the surface. Maintain the water at a gentle boil for approximately 20-25 minutes, adjusting the time based on the quantity of seeds in the pot.

After 25 minutes, all of the Moringa seed oil should have risen to the surface of the water.
Using a spoon, gently skim the oil off the top of the water and transfer it to a separate container. Allow it to cool.
Regardless of which method you’ve followed, your oil may still contain a small amount of water. This is why the next step is crucial.
Step 3: Let the Oil Rest
This step is often overlooked, yet it’s absolutely crucial unless you intend to use your oil immediately.
After the initial extraction of your Moringa oil, it will still contain water molecules and residual seed particles. This is normal. However, if you don’t allow the oil to rest for a few days, these water molecules can spoil the oil.
Learn from my mistakes! Take your container of oil, place it in a cool spot, and let it rest for three days. During this time, the water will evaporate, and any remaining seed particles will settle. As a result, you’ll be left with a beautiful, golden oil ready to be decanted and used for cooking.

Step 4: Decant the Oil
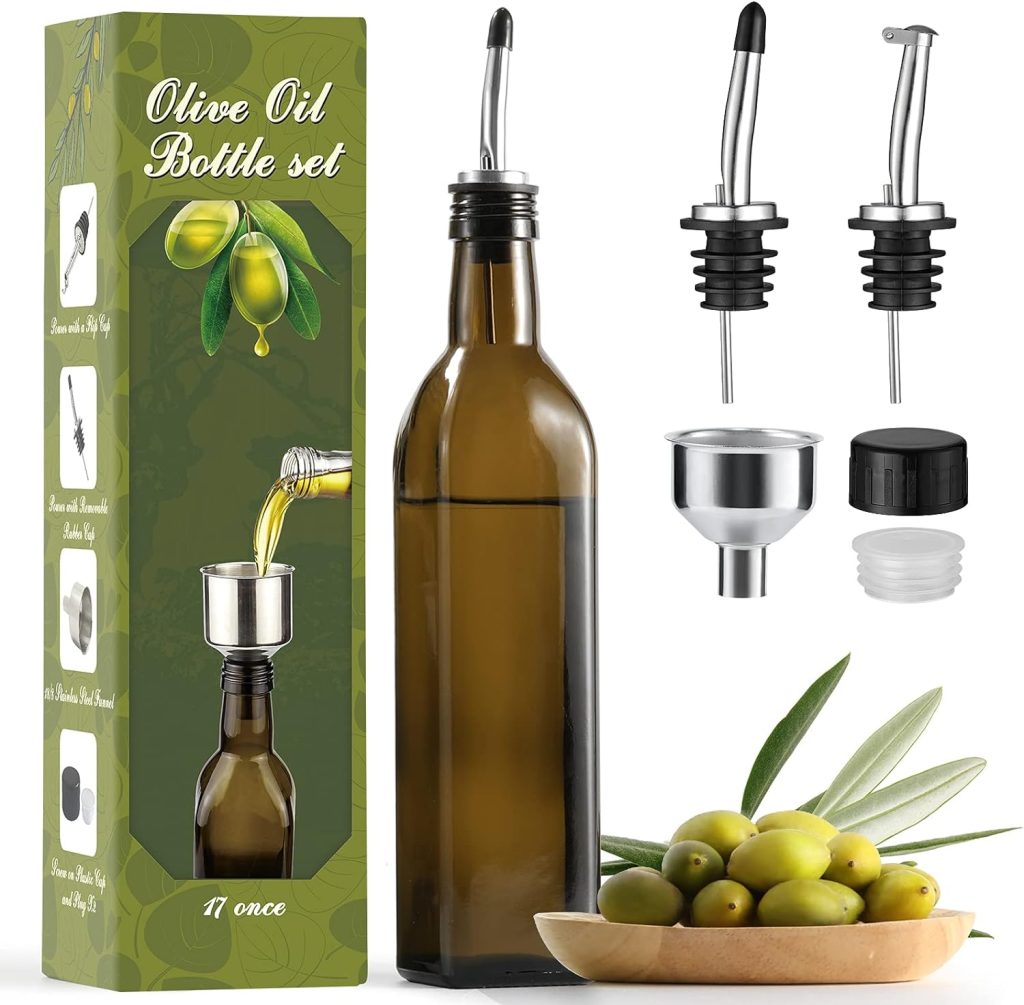
Your oil is now ready, and all that remains is to transfer it to its final container.
The choice of oil bottle is flexible. Personally, I prefer Aozita’s bottle set for its charming appearance and affordability, but feel free to select whichever option suits your preferences. (Though, I’ve noticed that darker bottles tend to preserve Moringa oil’s quality a bit longer.)
To decant the oil, pour it slowly from its current container into its new home. Avoid excessive agitation, as this may disturb any remaining seed residue, resulting in a slightly cloudy appearance (though the taste and nutritional value will remain unaffected).
For those aiming for the clearest oil possible, filtering is an option. However, note that this step is entirely optional.
Step 5: Use It
And with that, you’ve completed the process!
Congratulations on crafting your own Moringa oil. If you’re interested to learn more about the amazing Moringa oil benefits and what it can be used for, check out our article below:
Conclusion
In conclusion, crafting your own Moringa oil can be a rewarding and enjoyable experience, whether you opt for the convenience of an oil press or the simplicity of manual extraction methods. From de-shelling the seeds to decanting the finished oil, each step offers a sense of satisfaction and accomplishment. Remember, allowing the oil to rest is crucial for optimal quality, so be patient and enjoy the anticipation of the final result. With your golden Moringa oil ready for use, you’ll have a diverse and nutritious addition to your diet and skincare routines!

For years now, Moringa has been a daily consumption in my life, incorporated in various forms such as capsules, food recipes, and soothing teas. Initially, my daughter and I embarked on this journey as an experiment, but as time went on, I delved deeper into its remarkable potential and unearthed the unlimited benefits it offers for our well-being and health. I got motivated by how much it positively impacted me and decided to share my insights about Moringa’s profound impact on health and overall living through my blog posts.
This is so informative, thank you so much.